Metal Inspection System To Debut Via GE MRO Tech Acceleration Center

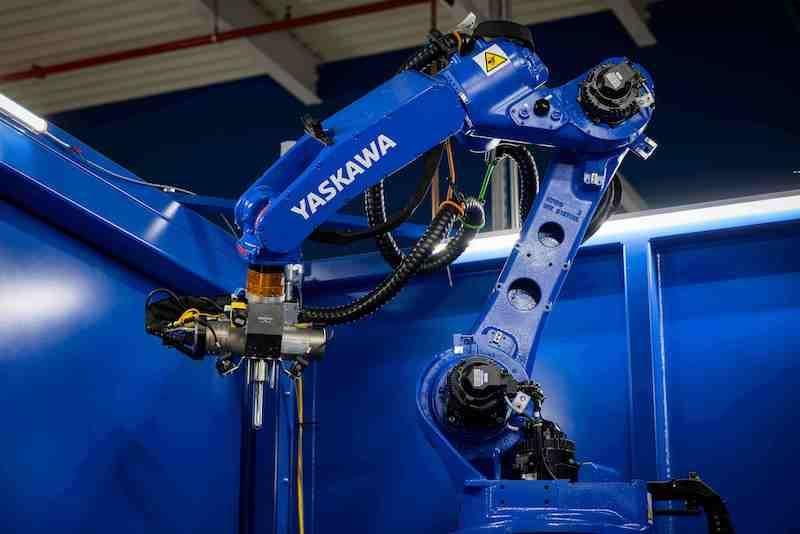
GE XRF
Credit: GE Aerospace

CINCINNATI—A non-destructive inspection system for metallic engine parts based on technology developed for detecting art forgeries is set for deployment to MRO shops via GE Aerospace’s soon-to-open Services Technology Acceleration Center (STAC).

Set to debut in September, the STAC is designed to accelerate the placement of new inspection and repair processes to GE’s MRO network. The non-destructive, open-beam x-ray fluorescence spectroscopy (XRF) inspection device, which can detect microstructural variations in metal parts, is the first of its kind in the aerospace industry, GE says.

“High-energy X-rays interact with a surface or some part of the subsurface of the part, excites the outer shell of electrons and re-emits a known chemical signature,” says Nicole Jenkins, chief MRO engineer at GE Aerospace. The XRF system can detect, for example, additively made substructures with anomalous or contaminated powdered metal—helping alleviate component inspections that have caused issues recently for GE and particularly Pratt & Whitney.

Developed by GE Aerospace in partnership with Bruker, a provider of analytical tools for material characterization, the system adapts the same basic sensor head used to evaluate art works. “We've taken the detector that measures those re-emitted excited and kilovolt electrons and created one that is for specific elements of interest for us,” Jenkins says.

“In this case, we're looking for titanium. But again, in powder metal alloys, we can look for any chemical signature as long as we have modified both the software which we've developed here, and the detector to isolate that against the other part of the spectrum analysis,” she adds.

As well as inspecting produced or used parts, the device is also intended to prevent flawed components entering production. “The idea is to be proactive as opposed to reactive,” Jenkins says. “Now that we've developed this technology, we can put material back into the field that's been deemed non-serviceable. But I'm also working to put this technology well upstream. So how do we work with our suppliers and vendors to determine that we have quality assurance before we ever get to the finished product?”

The new X-ray process will now augment and supplement other imaging methods and techniques used by GE Aerospace, including ultrasound, computed tomography, flash thermography, eddy current testing, fluorescent penetrant inspection and dimensional metrology.

Around 50 manufacturing engineers will work on new inspection and repair techniques in the 65,000-ft.2 STAC facility near Cincinnati.

Guy Norris

Guy is a Senior Editor for Aviation Week, covering technology and propulsion. He is based in Colorado Springs.